For this year and the last, my family has emphasized homemade or thrifted gifts for the holidays. I think it has lead to more creative/meaningful gifts; for example, I received homemade room decor crafts and thrifted french books from my sisters this year.
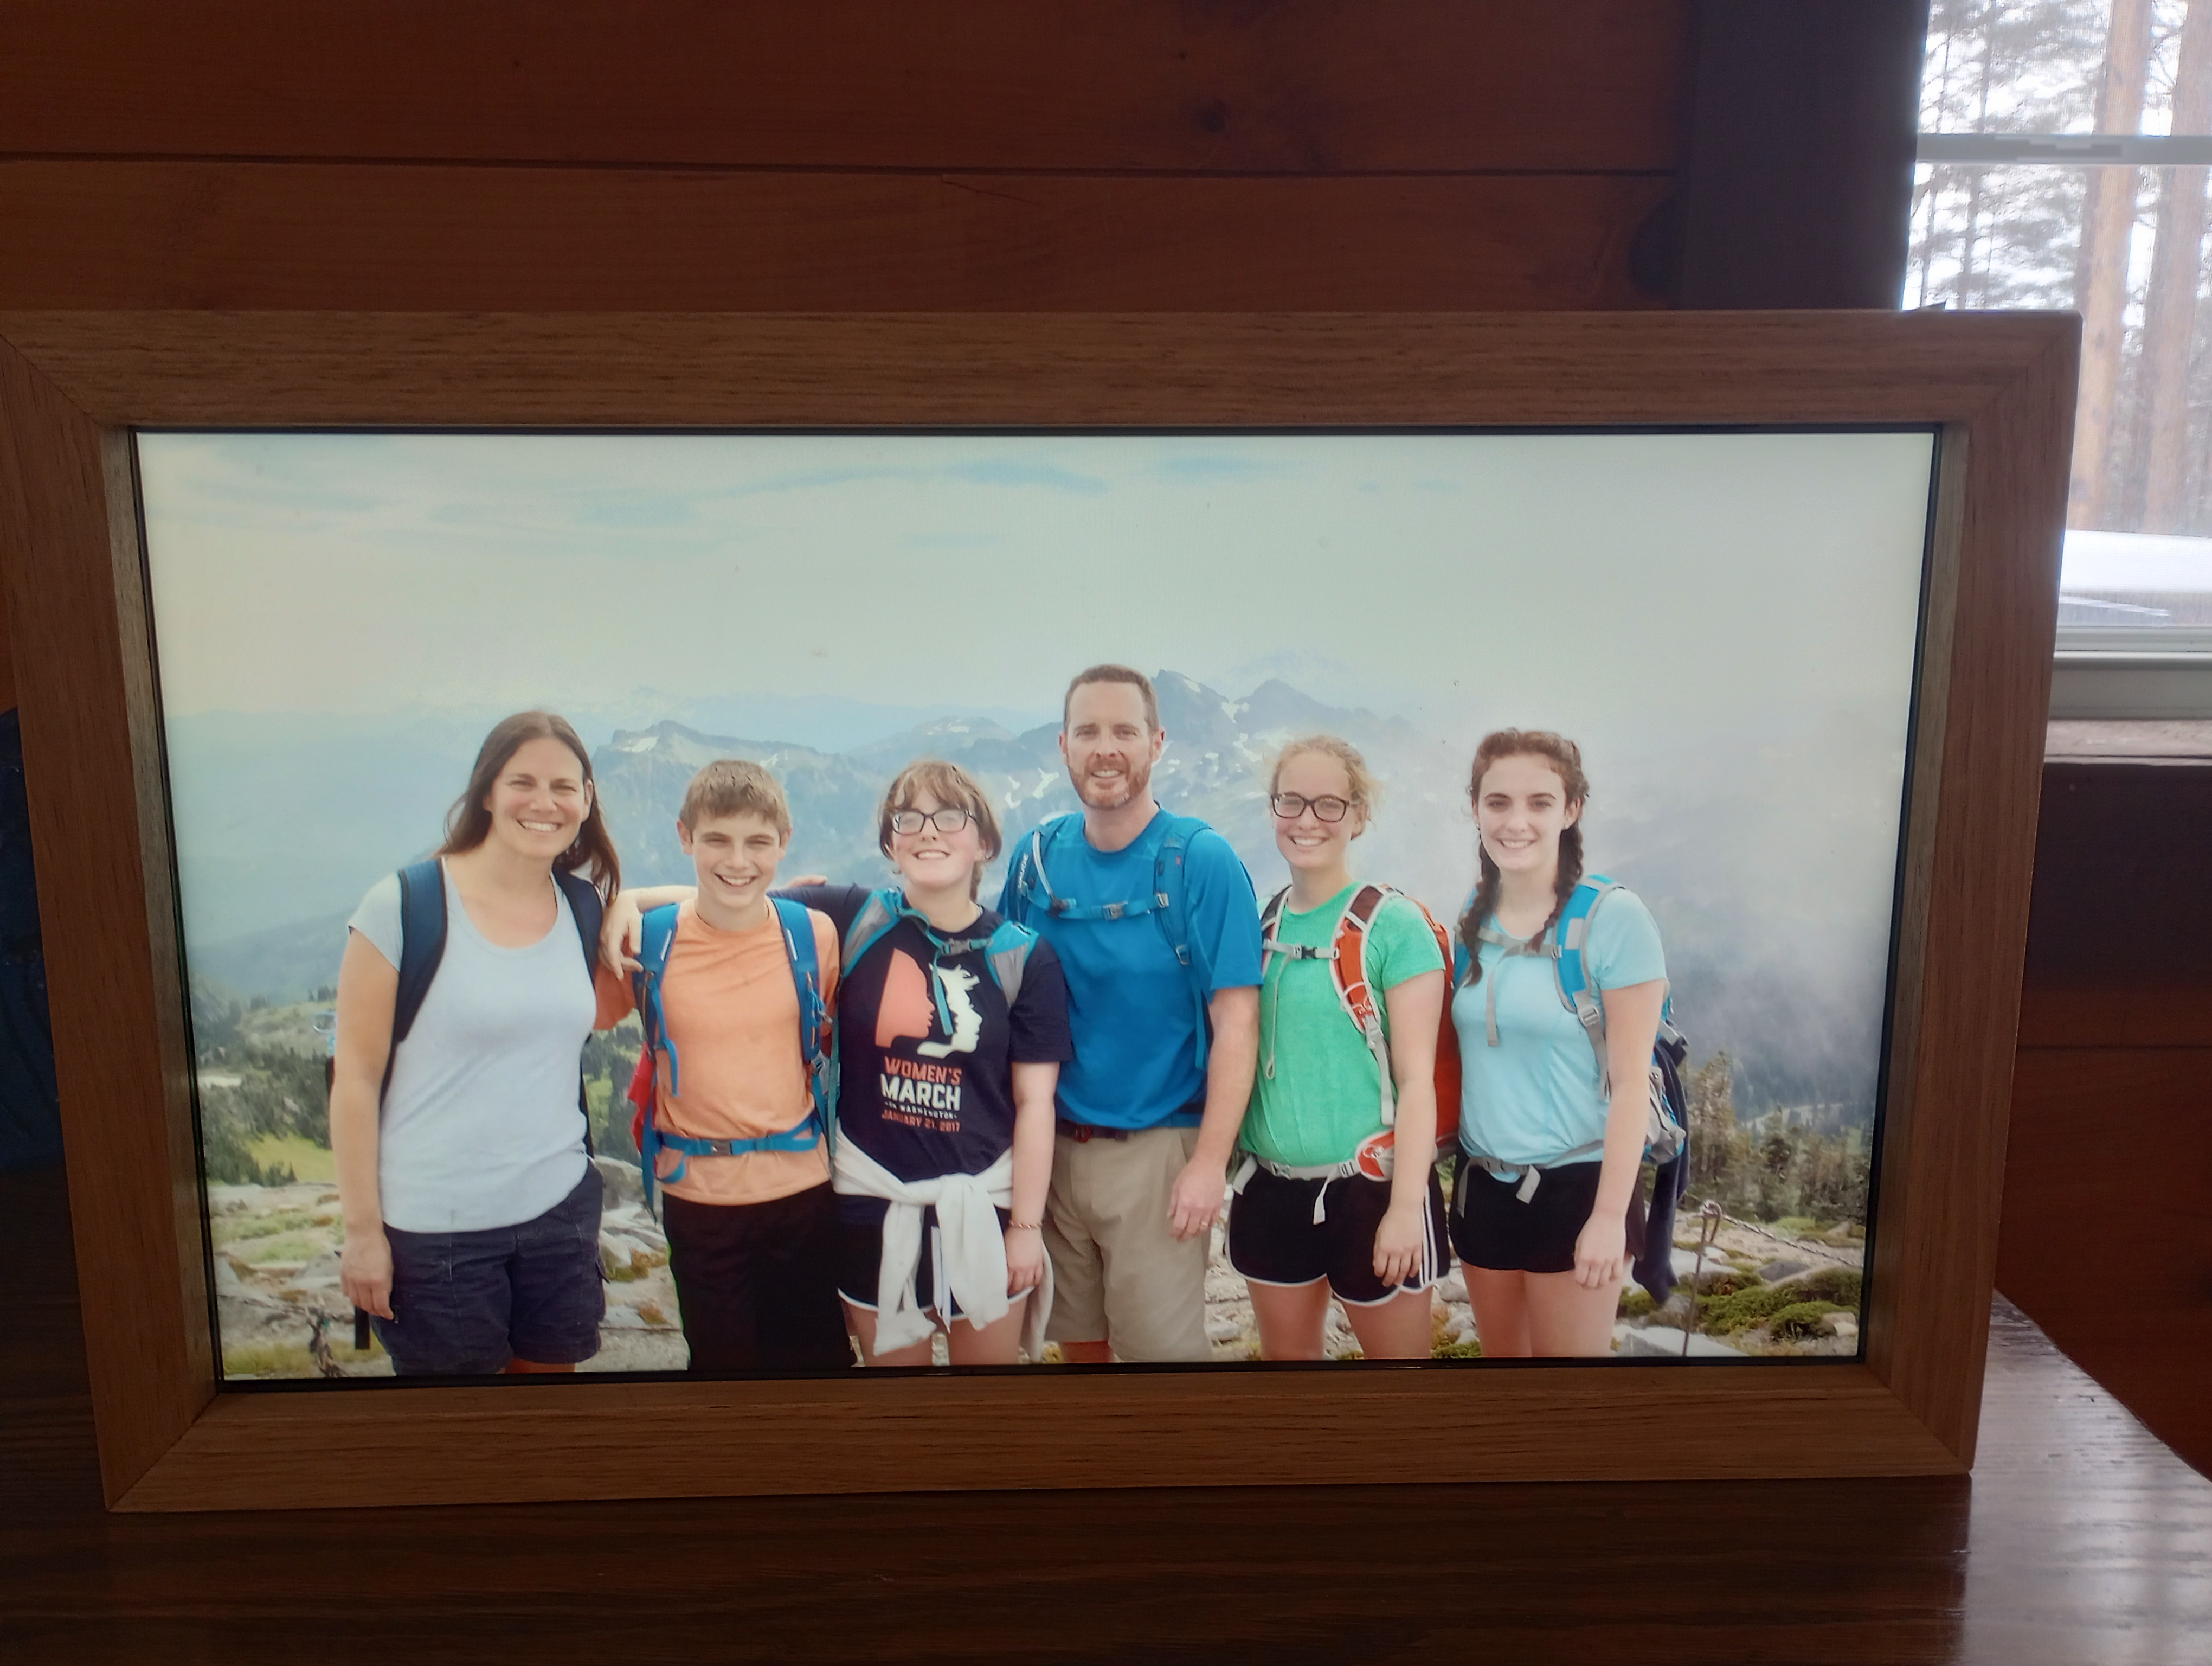
We were staying in the house of some family friends recently and I noticed they have a digital photo frame sitting on one of their tables. The idea behind these things is that there is some central repository of photos that everyone in the family can add to and it slideshows through them, allowing for a much greater quantity of memories to be relived.
I thought it could be a fun project to make my own as gifts for my parents and grandmother.
It indeed was pretty fun; I'm documenting the progress here in case it's useful or interesting for others, including the code.
Parts
My general idea was to get some screens, slap Raspberry Pis with internet access on the back, and wrap it with a wooden frame to make it look pretty.
The screens
At first, I was planning on buying some 7-10in screens, but I couldn't find many online with a decent resolution. After looking at the frames others have made, I decided to thrift some old computer monitors.
I thrifted a monitor from a Goodwill in Providence for $10. I plugged it into my computer when I got back to my dorm and, fortunately, it worked! The resolution is 1920x1080, and the power consumption is ~10W, which comes out to 51 kWh with 14h of use everyday for a year ($9.20 in the county where I live).
When I got home for winter break, I thrifted the second monitor for $35. This one has slightly worse resolution at 1360x768 and increased power draw at 20W (102kWh --> $18.41 for a year of 14h/day use), but it'll work.
The Pis
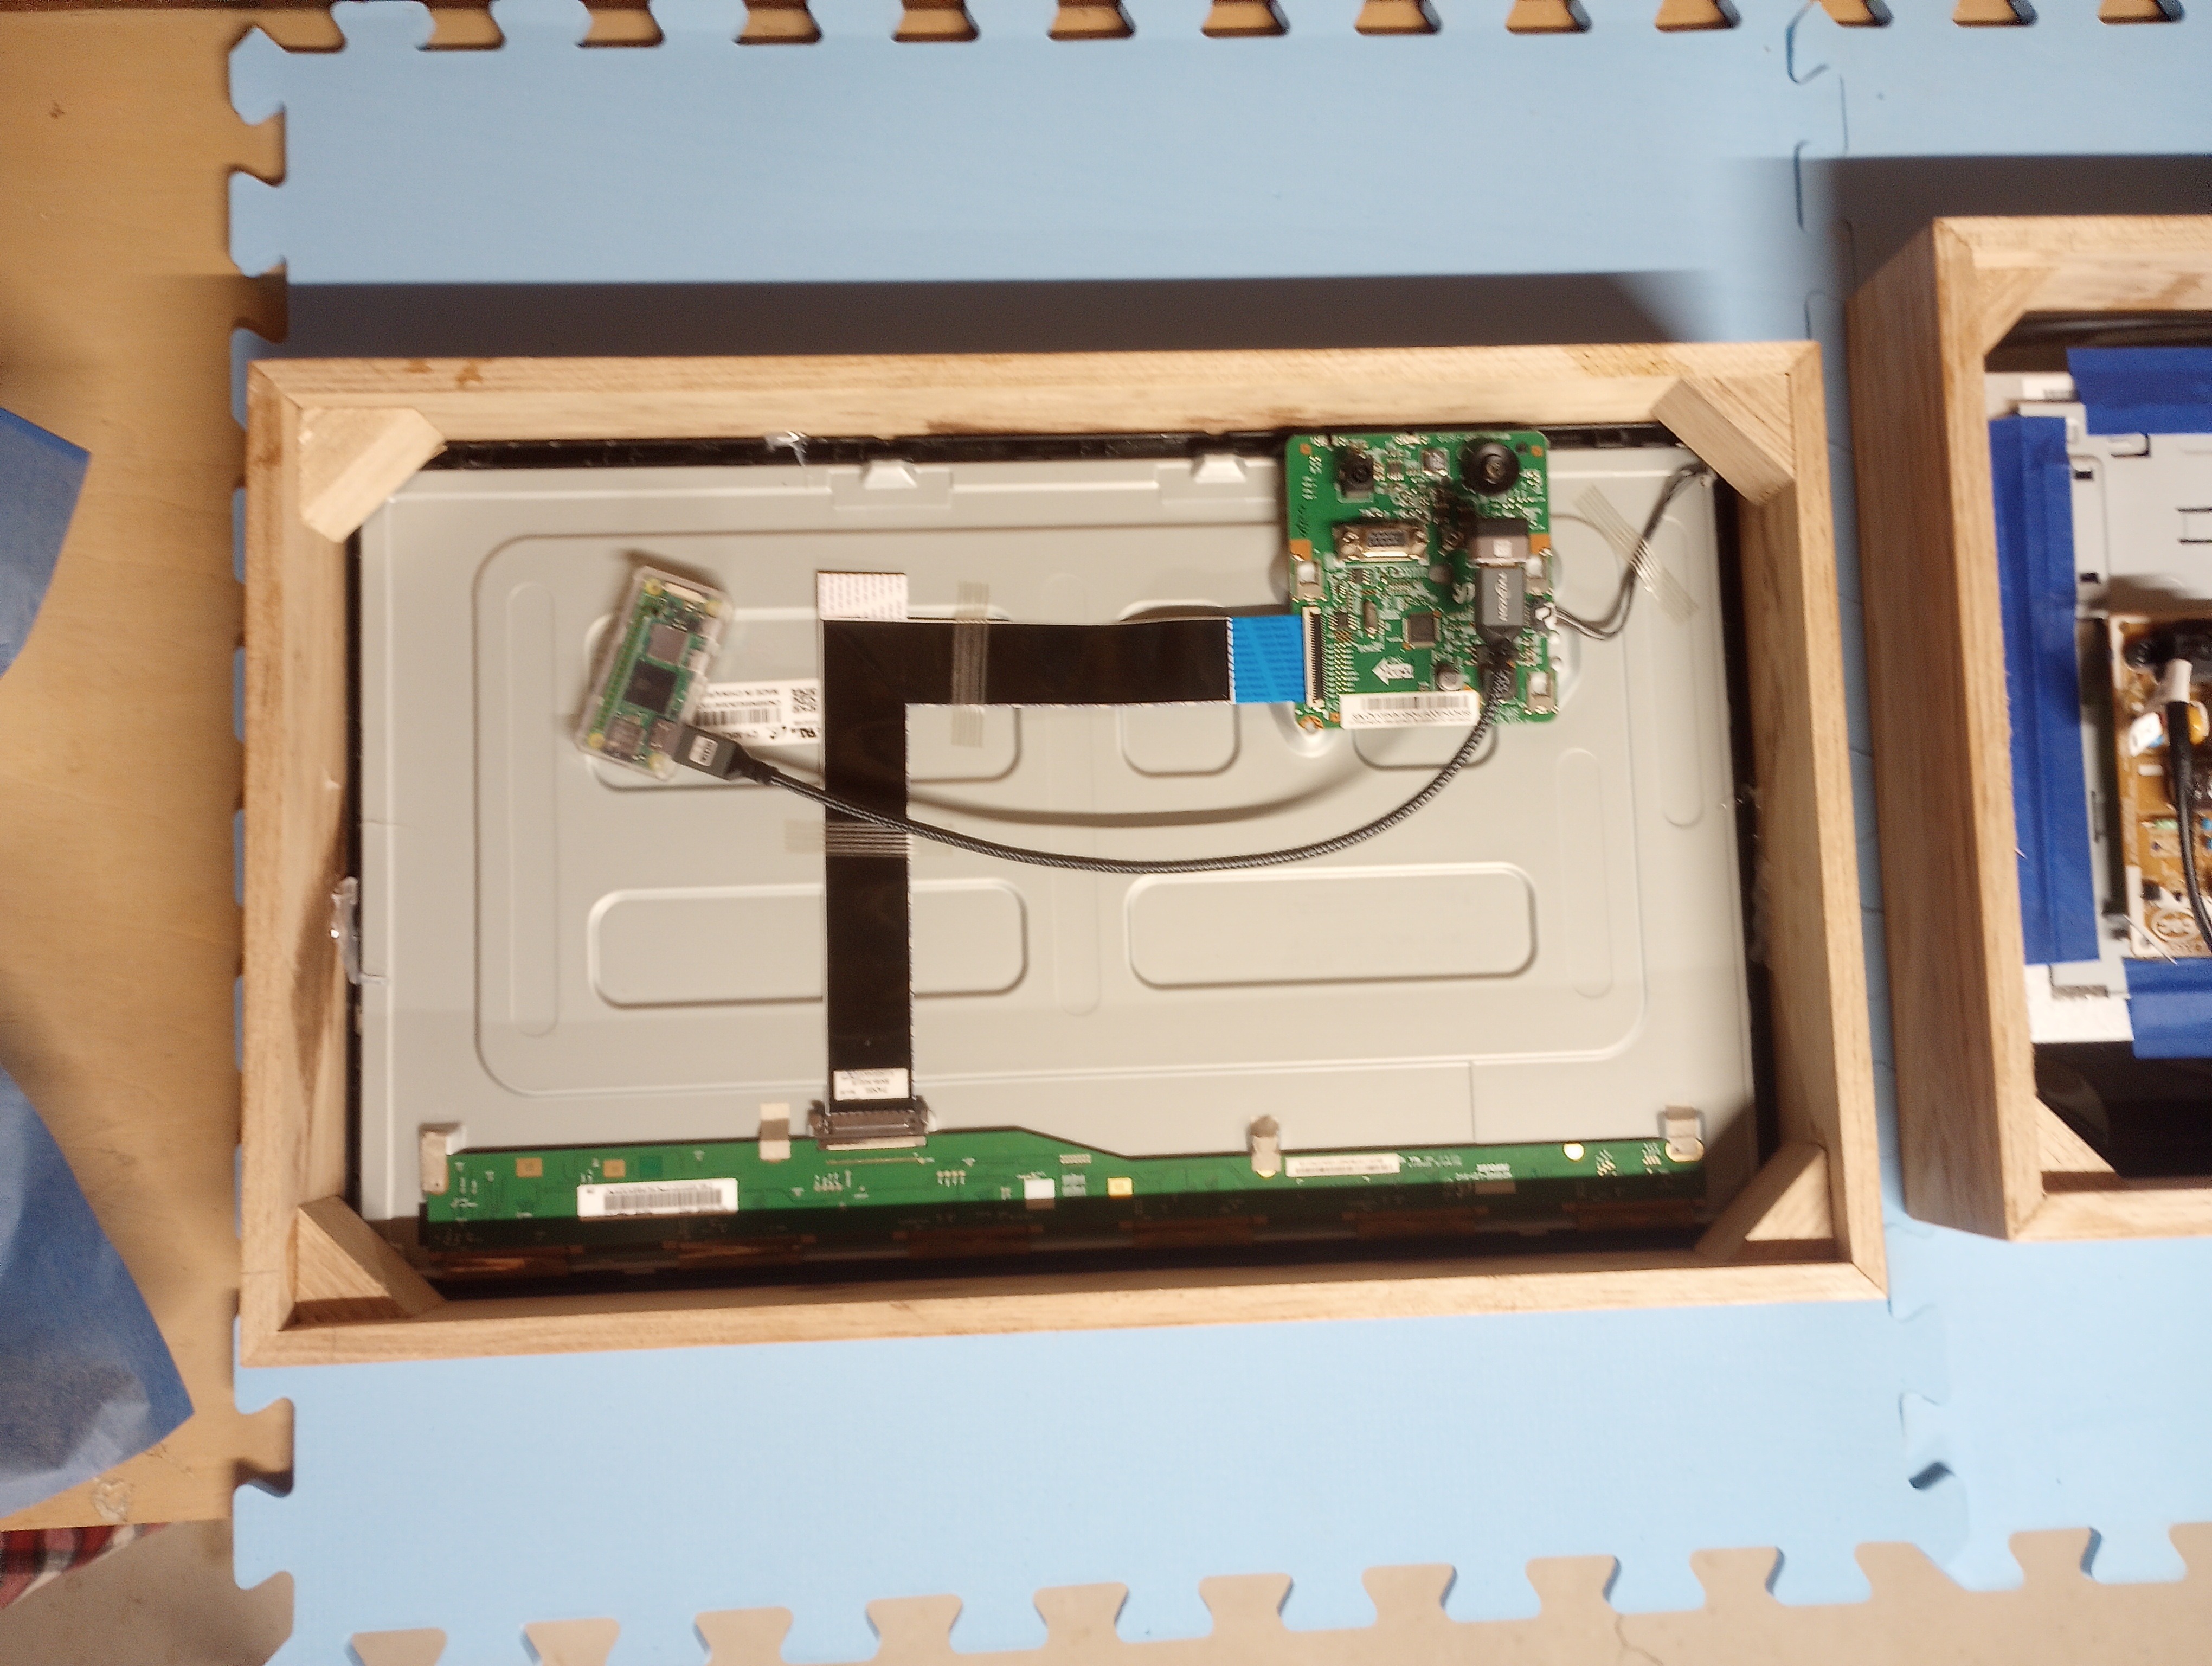
I knew I had a few Raspberry Pis kicking around at home, but they're somewhat old (32-bit old) and I wanted to try using the Raspberry Pi Zero for this project. I ordered two Raspberry Pi Zero 2 Ws for $21.39 each. Importantly for us, the Pi Zero 2 W comes with onboard WiFi and a mini HDMI port.
To go with the Pis, I also ordered SD cards, cases, mini-to-full HDMI cords, and right-angle adapters to fit the cords nicely in the frames.
Parts List
| Component | Price ($) |
|---|---|
| Monitor 1 | 10 |
| Monitor 2 | 35 |
| Raspberry Pi Zero 2W (x2) | 42.78 |
| Pi Case (x2) | 9.98 |
| 32 GB SD Card (x2) | 12.99 |
| Mini-to-full HDMI Cord (x2) | 13.99 |
| Right-angle HDMI adapter (x2) | 5.99 |
| Total | 130.73 |
| Per Frame | 65.37 |
Assembly
I had gathered the parts and now needed to make a frame. I'm new to woodworking, but my Dad is very experienced so set me up with some pine wood and showed me how to use the tools in his workshop.
First I took the stands and backs off of the monitors with the help of phillips and flathead screwdrivers.
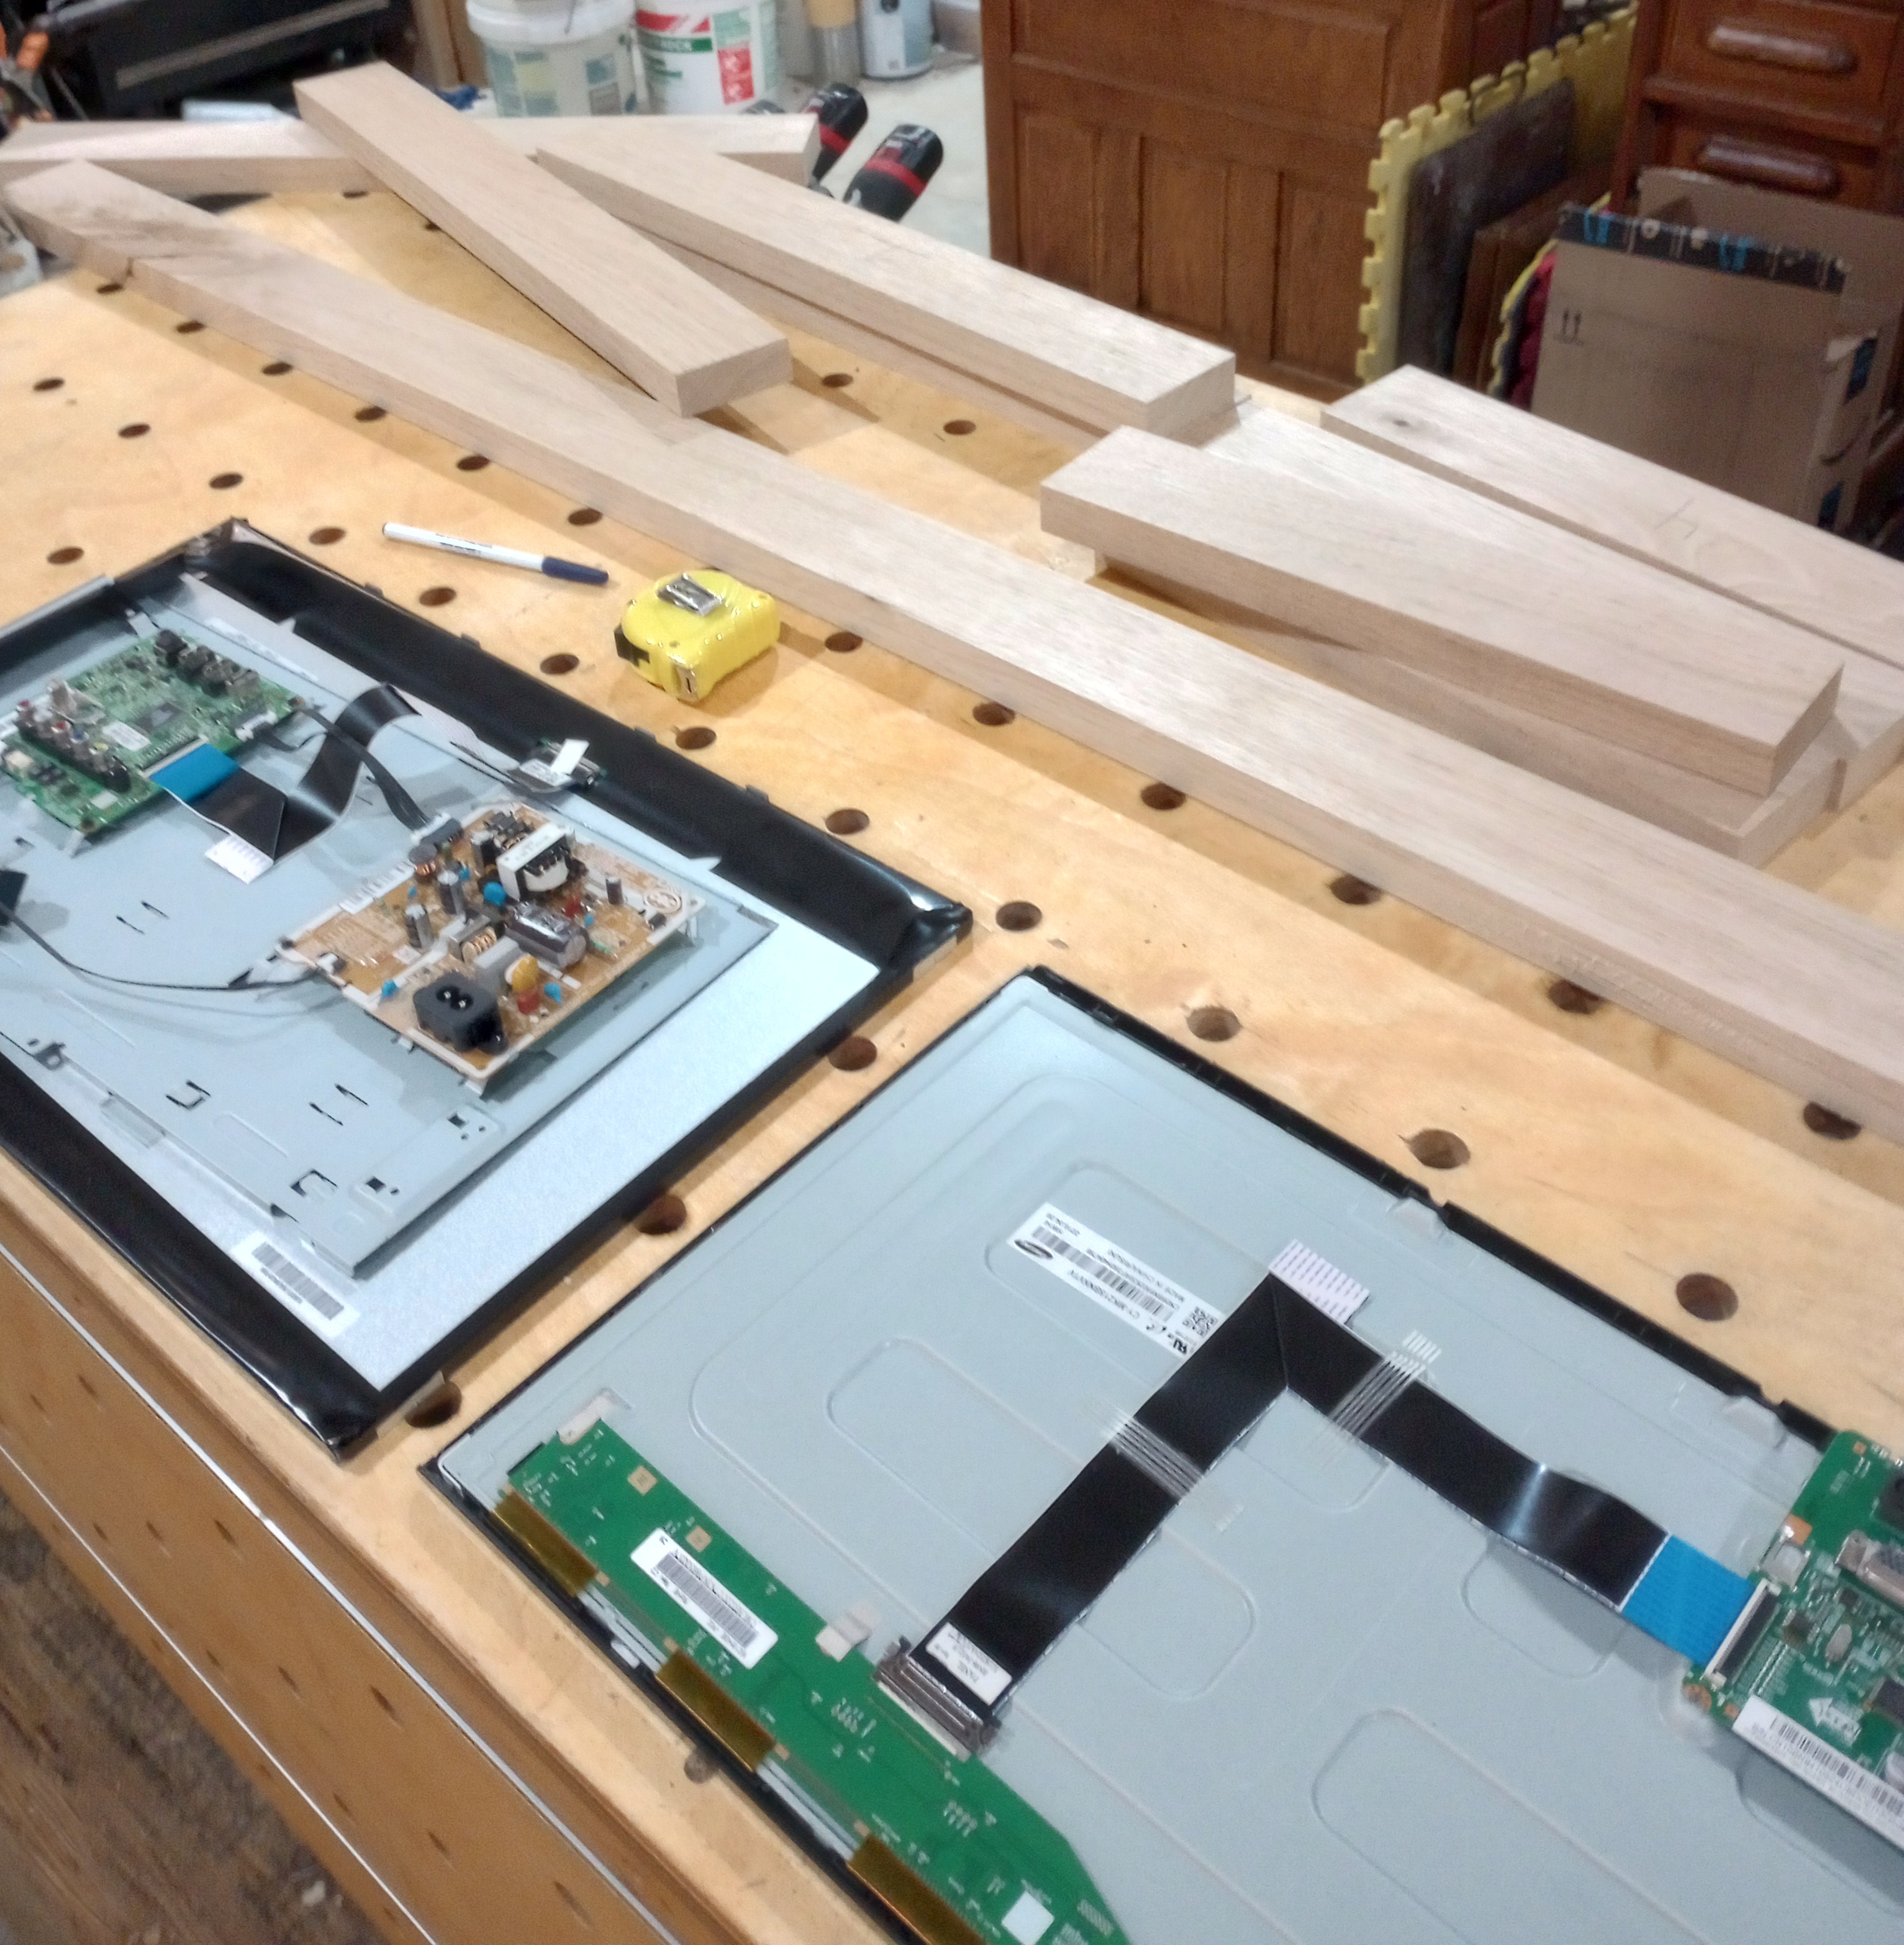
I measured the width and height of the screens and the bezels. I started by cutting four pieces for each frame with 45 degree cuts so that the pieces fit nicely into a rectangle just larger than the monitor.
Then, I cut a rabbet (the cut that makes the pieces L-shaped) out of the long, inner side of the pieces such that the monitor would snugly fit facing down, just covering the outside bezel.

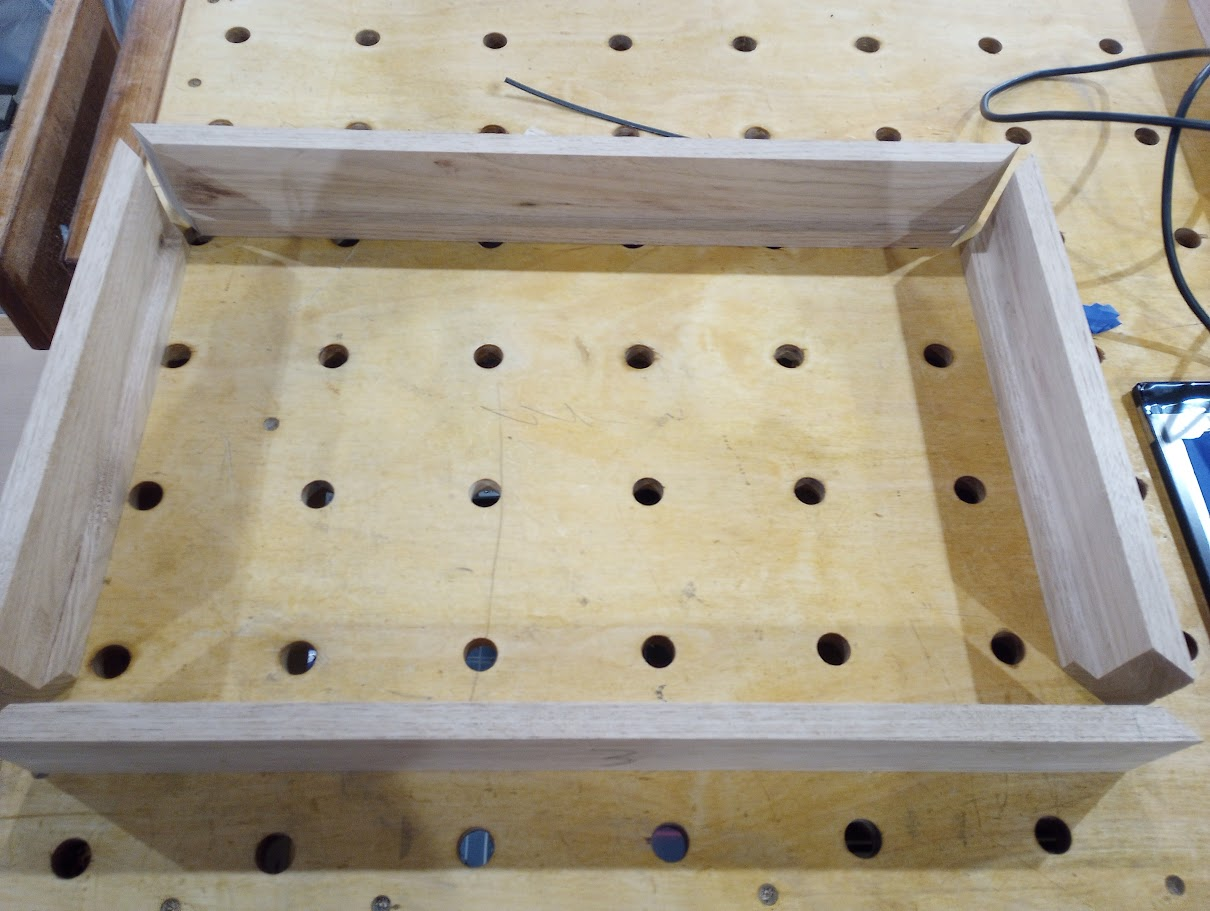
I secured the pieces with some wood glue and waited for the glue to set overnight.
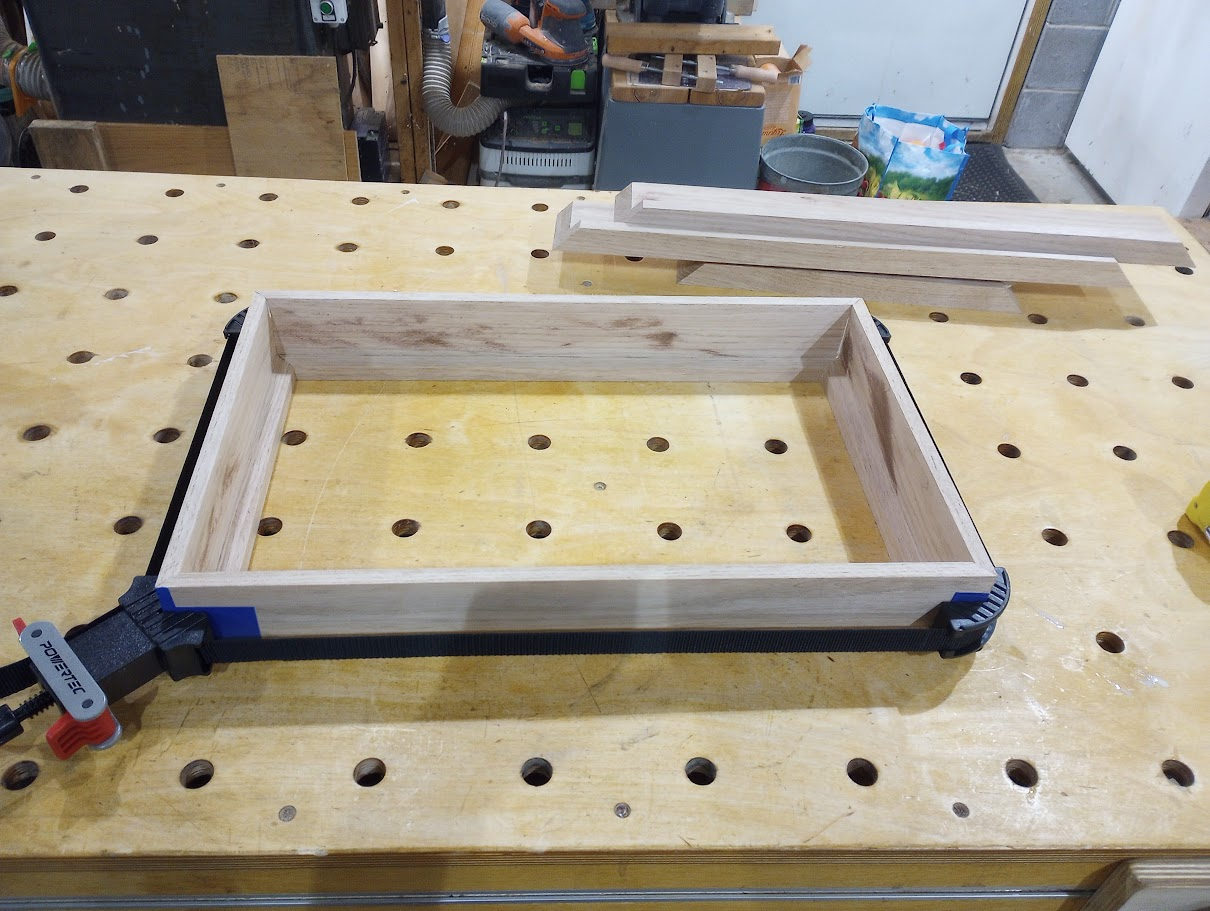
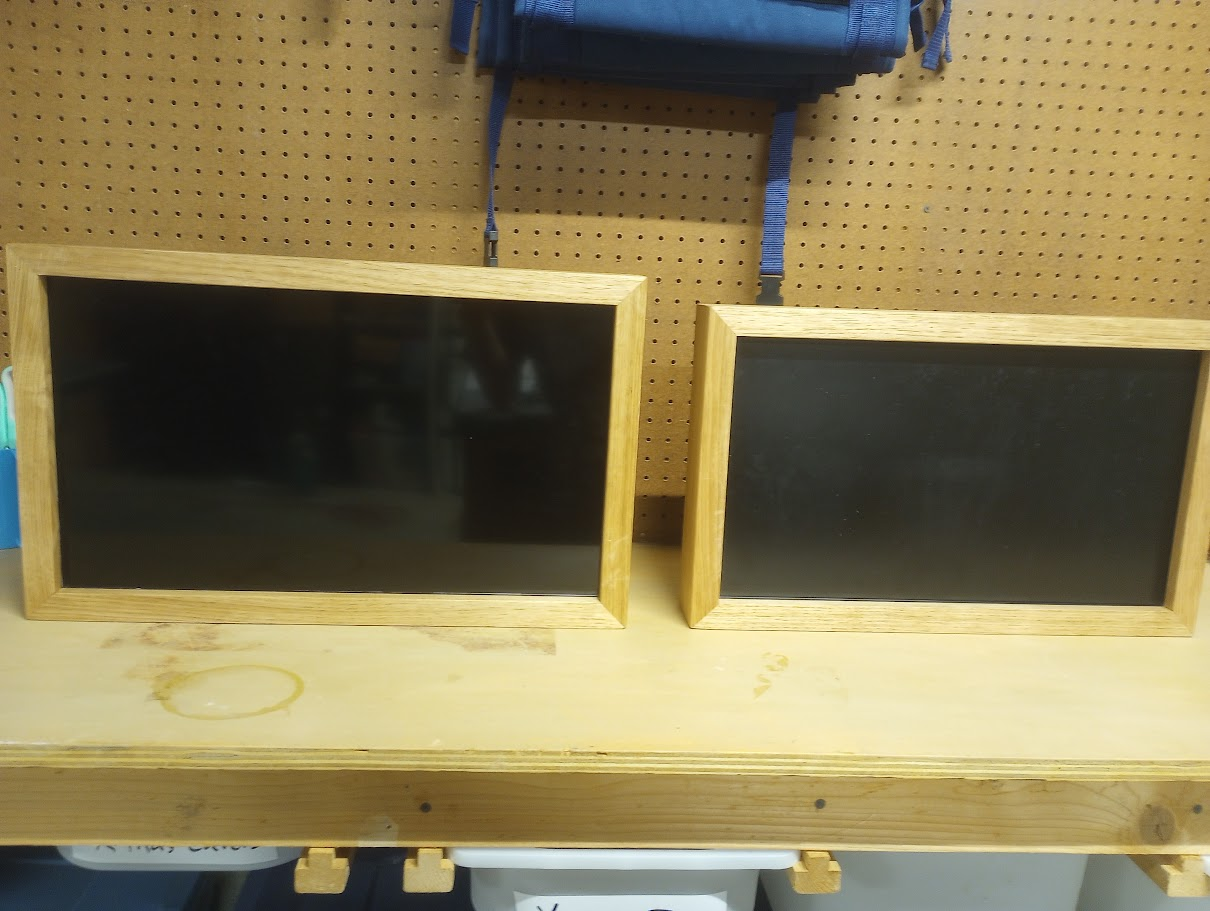
For the finish, I sanded the show sides with a random orbital sander and by hand, and applied two coats of oil-based varnish.
Finally, I cut 8 right-angle triangle pieces to slot into each corner and keep the monitor in. After securing them with superglue, and adding some dabs of hot glue around the monitors to be extra safe, the frames were done.
Software
The software side is pretty simple. When the Pis boot up, they run a python script that connects to a Google Photos Album using the Google Photos Library API and downloads any photos they don't already have on disk. Then, it uses tkinter to slideshow the photos.
The code, along with instructions and commands (explained below), can be found in this repo.
OS
I used the Raspberry Pi Imager to flash Raspberry Pi OS Lite (64 bit) onto the SD cards. This let me set up my user account, enter my house's WiFi credentials, and enable password-based SSH. The Lite OS doesn't come with stuff like a desktop GUI, browser, or many utilities out of the box except for the essentials. This means we'll have to install a few extra things ourselves, but the Pis will be less bloated.
Connecting to Pi
I inserted the SD cards and powered the Pis through the 5V micro-USB port. The first boot takes a few minutes as it needs to restart a few times. It eventually connects to the WiFi and advertises its address/hostname on the local network (I called the Pis frame1 and frame2). Then you can SSH onto the Pi and run commands without having to connect a monitor or keyboard.
Setting up the Repo
I first ran sudo apt update to ensure the package lists on the pi were up-to-date. Then I installed git via sudo apt install git-all. The digital-frame repo was originally private, so I set up SSH keys with my Github account to clone it.
Display Server
Because I installed the Lite version of the OS, I needed to install a display server myself. Display servers are an abstraction over screens and input devices. Applications send messages to them to render things and query for input. Without one, tkinter will error, as it won't have anything to tell its rendering instructions to.
We'll also need a window manager, the software that handles drawing applications in windows.
I installed the Xserver display server and the Openbox window manager with sudo apt install xserver-xorg openbox xinit.
Before running the python script, we need to run the following commands:
nohup sudo startx -- -ac &
export DISPLAY=:0
The first starts up the display server in the background. The -ac flag disables access control, meaning any users can send commands to the display server. This should be fine because 1) I'm only deploying these frames on local networks and 2) I'm not having the display server listen on a network socket; this means potential attackers would need to connect via SSH to the Pi first.
The DISPLAY environment variable tells applications what XServer instance to connect to. Specifically, :0 means the first local display. The XServer will then listen for incoming connections on the Unix Domain Socket at /tmp/.X11-unix/X0.
Running the Script on Boot
I made a simple bash script, run.sh, to activate the python virtual environment, start the display server, and then call the python interpreter on main.py. The goal is to run this script whenever the Pi boots up.
First, I set up autologin, so that my account on the Pi gets logged into immediately on boot.
To do this, we need to interact with the getty service, which is responsible for managing terminals on many Linux distributions like Raspberry Pi OS. I added an /etc/systemd/system/getty@tty1.service.d/overide.conf file, which overrides settings for the getty service for terminal (tty) 1.
I inserted the following text (following instructions from online):
[Service]
ExecStart=
ExecStart=-/sbin/agetty --noclear --autologin <user> %I $TERM
My understanding is that the first ExecStart directive clears the directive found in the original service file. The second starts the TTY, logging in user without prompting for a username or password.
Then I reloaded the systemctl daemon (so that it reads the new config) and enabled this process to run on boot:
sudo systemctl daemon-reload
sudo systemctl enable getty@tty1.service
Rebooting a pi with sudo reboot now while it was connected to a monitor showed that this was working.
To run my run.sh script after login, I added a line to my user's crontab file so that it would run on boot (piping stdout and stderr to a log):
@reboot /path/to/digital-frame/run.sh >> /path/to/digital-frame/logfile.log 2>&1
Now, when the Pis are given power, they will boot, download new photos, and start running the slideshow!
Future
In the future, I'm thinking of adding more a more sophisticated photo sampling algorithm to the script (ex. sampling recently added photos more frequently with a local sqlite database or json file) and maybe an off button.
The current plan for power is to have the monitors/Pis on a daily schedule via an Amazon Smart Plug. From what I've read online, powering off a Pi repeatedly without a proper shutdown can corrupt the SD card; I'm probably going to add a cron job that executes a few minutes before the scheduled power-off to shutdown the Pi safely.
I've also noticed that many of the photos we upload are vertically oriented, as they were taken with a phone. The current horizontal orientation of the frame leaves a lot of blank space on either side of the photo for these images; It wouldn't be hard to add a mode for vertical orientation.
End
This was a super fun project! I had wanted to do a project with Raspberry Pis and also do some woodworking for a while and this scratched those itches perfectly. I think the final result actually turned out quite well!